Back in July, I hipped you to Uri Alon’s awesome TED talk. (https://creativitylovingeducator.com/2014/07/05/in-the-cloud-with-uri-alon/) I said we’d talk once you watched the video. Well, hopefully you found the time (If not, go now!), because here we go!
So, yes, Uri Alon. How do we transfer his ideas into the classroom? Do his ideas have any merit in a classroom where we are laying a foundation of skills, facts and knowledge? Isn’t it important, and in fact necessary, that we as teachers teach our students what is correct? Wouldn’t we be doing a disservice to our students if we engaged in “Yes, and …” conversations? How is “Yes, and …” valuable in, for instance, a kindergarten classroom?
All great questions. I think it is a matter of balance – not “either or” but, “yes, and!” LOL!
As a teacher I understand the necessity of giving my students a broad base of knowledge and facts. It would be irresponsible of me to never correct a child, but it would be equally irresponsible if I never engage in “yes, and …” conversations with them.
“Yes, and …” conversations provide opportunities for profound things to happen for me, and for my students. Given a “yes, and …” response by me, my students are given permission and space to enter into a dialogue with me, their peers, themselves, and their work and thought.
They must engage in metacognition and attempt to articulate their thinking. Why do they believe what they believe? How is it true?
By thinking about their thinking, and struggling to adequately express their thoughts, they will practice, and hopefully enhance, many essential skills:
- metacognition
- thinking about their thinking
- critical thinking
- creative thinking
- articulating
- emotional intelligence
- negotiation
- listening
- analyzing
- comparing
- evaluating
- experimenting
- summarizing
- valuing mistakes and learning from them, instead of running from them
They may discover their thinking was flawed at a certain point, and upon rethinking, may arrive at the correct answer with greater understanding and knowledge. Or, they may discover why their answer was correct, and grow in confidence and understanding.
Additionally, “Yes, and …” conversations benefit me as a teacher (and learner). By engaging in “yes, and …” conversations with my students I too enhance all the skills listed above. I may discover they are thinking along a path I never considered. I may discover that my instructions, or thinking, were flawed or ambiguous, or, simply different from theirs. Plus, I grow in my understanding of my students’ thinking. Focusing on the process, and the path they took to their answer/understanding, I am more able to encourage, affirm, and/or correct.

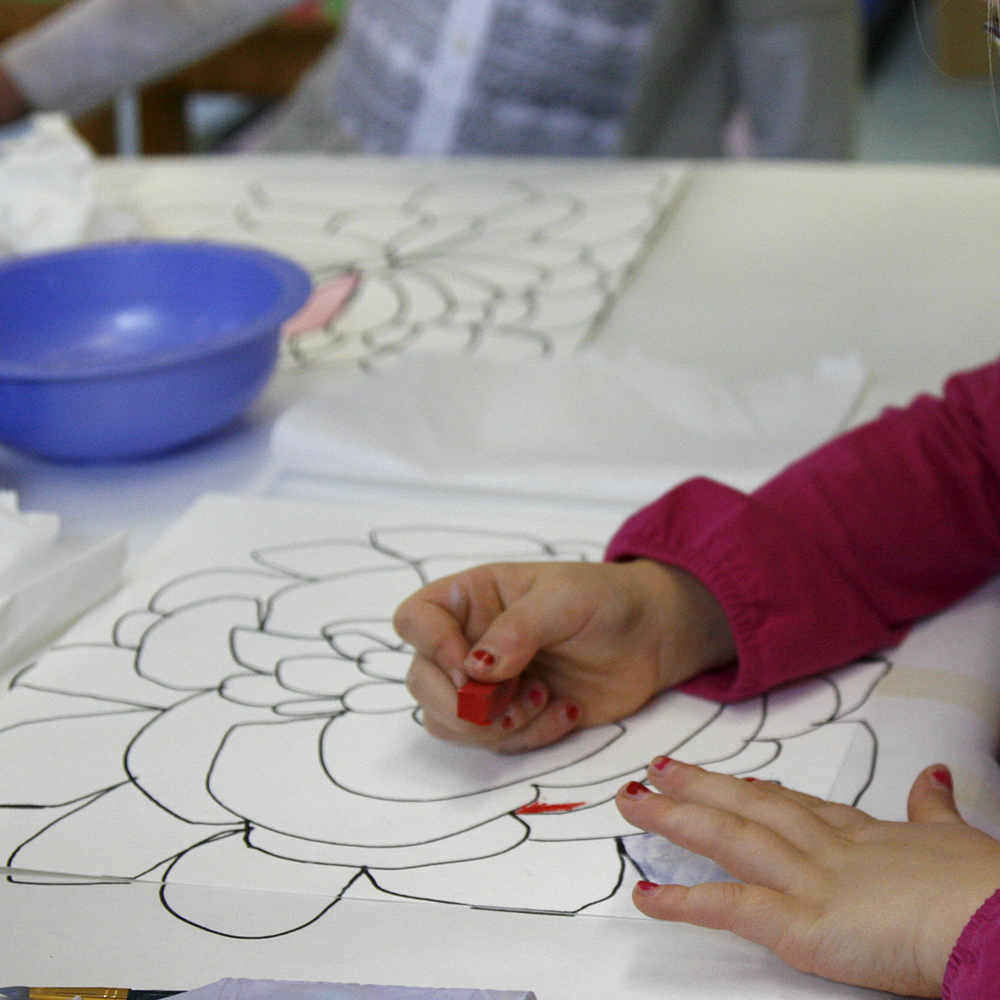
One year I asked my students to draw a picture of their family. One student came to me, excited to show me her picture. It was a lovely picture, but their were no people in it! I looked at her, and she looked at me. I was perplexed, so I asked her what she drew. “My house,” she replied. “Did I ask you to draw your house?” I asked. “Nope,” she replied. “You asked me to draw my family.” I looked at her with a smile, and a bit of a raised eyebrow and said “So, where’s your family.”
It seemed she hadn’t noticed any problem until I asked her about the whereabouts of her family. She leaned on the table – one hand on either side of her paper – studying her drawing intently. She looked, and thought. I waiting silently.
Finally she looked up, with a huge smile on her face – eyes glowing with the discovery she had just made. “THEY’RE IN THE HOUSE!!!!!” I couldn’t restrain myself, as the answer was so unexpected, and burst out laughing! “They’re in the house? What are they doing in there? Do you think you can draw them so we can see them?” She looked at the picture one more time, said yes, and began to draw faces in the windows.
That was an awesome example to me of a “Yes, and …” type of conversation benefiting both my student and me. She had to think about the task and her response. She had to problem solve. I had to trust her, wait, and re-evaluate my directions.
We both walked away with greater understanding and confidence in ourselves and each other. Fabulous!
RESOURCES:
The Art of Focused Conversation: 100 Ways to Access Group Wisdom in the Workplace, edited by R. Brian Stanfield, http://www.amazon.com/The-Art-Focused-Conversation-Workplace/dp/0865714169